 A scanned PDF is a file made by scanning a paper document or book. It looks just like the original page, but it's just an image, not real text. That's why when you try to highlight something in a scanned PDF, nothing happens because your PDF reader can't recognize the words. This can be a problem if you want to highlight important notes, study material, or key sections in a scanned textbook or form. Besides, highlighting helps you focus, remember things better, and stay organized. The good news is that you can highlight scanned PDFs if you have the right tool. Some apps and websites use something called OCR (Optical Character Recognition), which turns images into real, editable text. In this article, we'll list various tools that support OCR to highlight scanned PDF files.
Benefits of Highlighting and Annotating Scanned PDF
Here is an overview of some benefits when you highlight scanned document or annotate them. This is to help you know the importance of the method and why it is sometimes required. Read them carefully to take full advantage of the highlighting tools we will present in the latter part.
- Improved Readability. Using a PDF highlight tool lets you emphasize details or texts in your files. This will enhance the readability of the details as they can easily catch the readers' attention.
- Efficient Workflow. If you highlight and annotate PDF documents, you can easily tell your colleagues and other readers what you want for the file. With that, the workflow will be completed efficiently with little to no waste of time possible.
- Easy Collaboration. Sending a highlight PDF image and file will facilitate easy collaboration with your clients, employees, students, and others. There's no need to schedule a meeting to discuss the error on the file, and you can add a comment and annotate it for them. Then, you can send the files to them instantly.
- Better Retention of Information. Highlighting text in colors that are proven to be best for memorization, like red, can increase the retention of information. It will also boost the storing of information quickly, perfect for students relying mostly on PDFs during their study period. If you are a student, you can get online tools to highlight scanned PDF online without the need to purchase the software.

Methods of Highlighting in Scanned PDF
Generally, there are various ways you can highlight in PDF file. For instance, you can easily use a highlighter pen if you have a printed copy of the file. Highlighter pen is the old-school method of highlighting printed documents or books. You can buy them at the nearest bookstore or school supplies store and utilize them in your files. These highlighters are created for all types of papers and won’t affect the existing text that you are highlighting. However, you cannot redo the task in manual highlighting once it is done. Meanwhile, scanned PDFs saved on your computer can be highlighted digitally. With the help of online or desktop PDF editors, you can quickly highlight essential details. The advantage of digitally highlighting scanned PDFs is you can easily redo or remove them if needed. So, we recommend highlighting PDFs using the tools below.
Best Tools to Annotate and Highlight Scanned Document
1. AcePDF
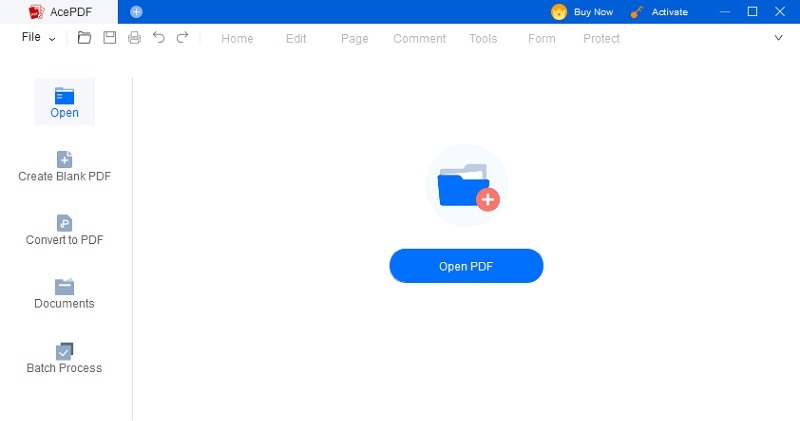
AcePDF is a one-stop solution for every PDF task you need. This tool has comprehensive features that can easily enhance, convert, and organize your documents. For example, its highlighting feature allows you to customize the highlight color from its color picker. Furthermore, the tool has other features to help you highlight texts, like underlining, square lines, and strikethrough. Besides, you can add annotations, like sticky notes, text boxes, callouts, drawings, shapes, and others, to leave a message for the following file viewer. Also, you can use the tool as an OCR PDF highlight tool. It supports the OCR feature that you can utilize to scan image-based PDFs and turn them into editable formats, like WORD or Docs.
2. Foxit PDF Editor
Foxit PDF Editor, formerly Foxit PhantomPDF, is another professional tool to highlight scanned PDF and other documents. The software allows you to highlight multiple texts in one click or select a specific paragraph to highlight. In addition, you can resize the thickness of the highlight or change its color. When it comes to its annotations, you can add shapes, arrows, notes, text boxes, and others with customizable colors and sizes. Moreover, the tool offers other features to make your scanned PDF more engaging. It lets you keep track of the edit history and who has made changes to the file.

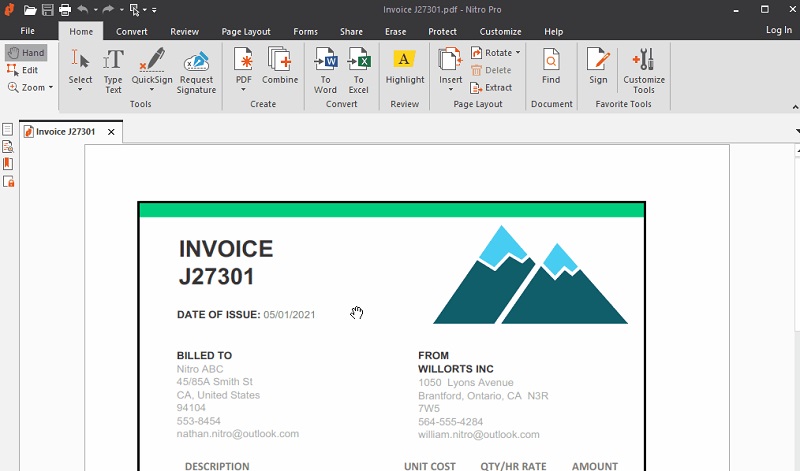
3. Nitro PDF Pro
Nitro PDF Pro is a smart PDF editor that meets every scanned and regular PDF document needs. This professional tool has intuitive editing features that make adding, deleting, and redoing highlights on your PDF files. With its PDF highlighter tool, you can highlight specific details in different colors. Also, you can markup text by adding strikethrough, underlines, or square lines. Moreover, the software allows you to add comments to your files. You can use a regular text box, sticky notes, shapes, and callouts to leave comments. Then, you can enhance your files by editing the existing texts, arranging pages, inserting watermarks, and more.
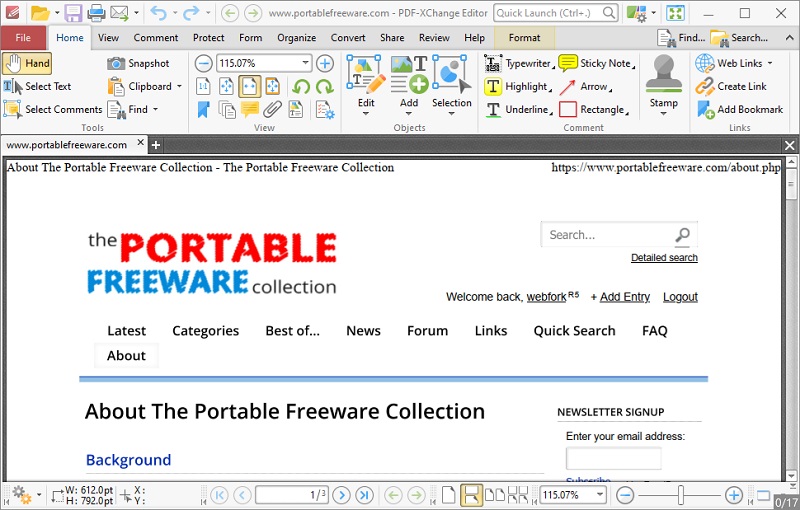
4. PDF-XChange Editor
PDF-XChange Editor is a freemium software that became the successor of the famous PDF-XChange Viewer. It has all the features from PDF-XChange Viewer, including the OCR feature, and provides an option to edit them. You can add comments and annotations and highlight crucial parts of the document. Also, like the Adobe PDF highlight feature, you can choose your preferred color for the process and adjust its thickness. Furthermore, the tool lets you insert text or permanently remove details with its redaction feature. Before you can edit and highlight scanned PDFs, you must convert them to an editable format. Nevertheless, you can take advantage of its features without paying anything.
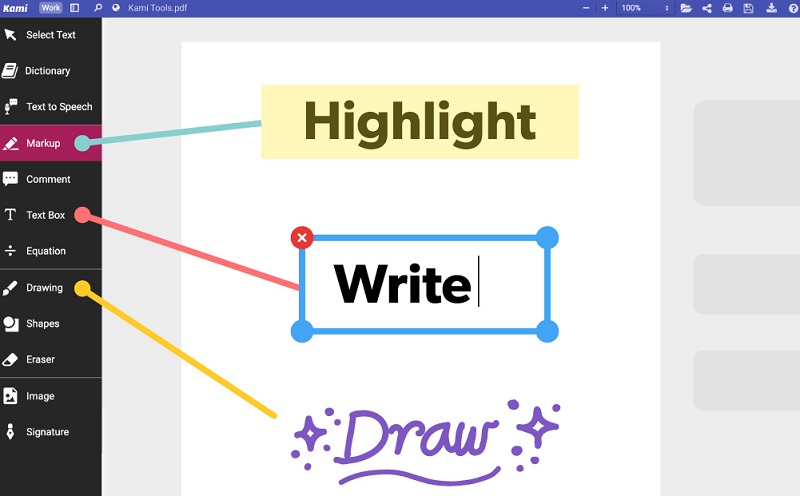
5. Kami
If you are looking for an online-based tool to annotate and highlight your scanned PDFs, we recommend using Kami. It is a Chrome extension with impressive features you can use to edit your PDFs. The tool supports the integration of your Google Drive and Google Classroom accounts. That way, you can easily highlight PDF in Google Drive and share them through links. Besides that, Kami allows you to highlight boxes, underline, and strikethrough texts with an easy redo and undo the process. To add more, you can remove all existing annotations and shapes to redo them. Also, it has a built-in OCR feature that can detect scanned files for quick editing.
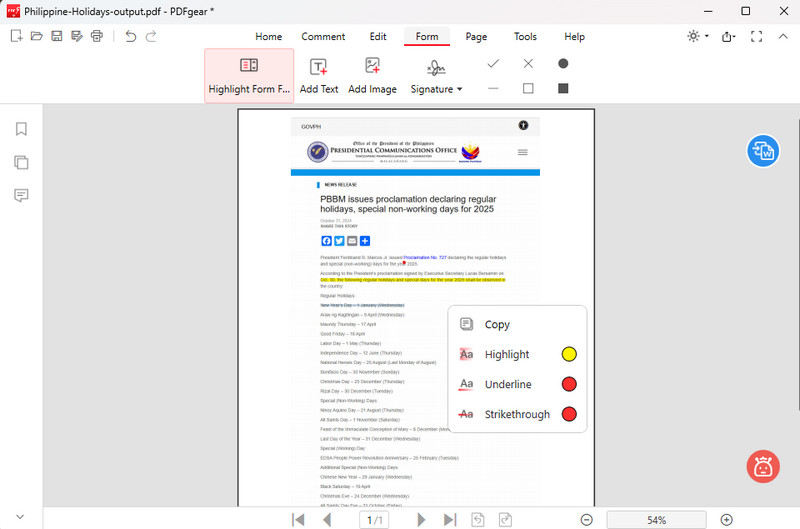
6. PDFgear
PDFgear is another PDF editor that lets you highlight scanned PDF files. It has an Area Highlight tool that enables you to draw rectangles or shapes around image-based text to mimic highlighting, which is perfect for scanned documents. In addition, PDFgear lets you highlight text in your PDFs with customizable colors. You can choose from preset options or use a color palette to find your perfect shade. Then, once highlighted, you can click on the highlight to change or remove it easily. Moreover, this PDF editor also provides an OCR function, which lets you convert scanned PDFs or images into editable, searchable text for easy highlighting. Beyond highlights, PDFgear includes underline, strikethrough, shapes, stamps, text comments, and electronic signature support, all easy to apply and customize.
How to Edit Scanned PDF with The Best PDF Highlighter/Editor
Among all the tools we introduced in the above section, we recommend AcePDF the most. Aside from its unique features in highlighting text, it is packed with features that can help you organize and replace page in PDF, merge multiple PDFs, compress huge PDF files, and more. To learn more about its other qualities besides being a PDF highlighter, proceed with the tips below.
Try it for Free
Step 1. Launch the PDF Highlighter/Editor
Install the software on your Windows or Mac computer by clicking the “Download” icon above. Then, move through the installation prompt until you completely save the program on your device. After that, launch the tool, and acquaint its features.
Step 2. Open the Scanned PDF
Next, drop the image-based or scanned PDF file into the software to import it. You can also manually dig into your computer file folder by hitting the “+” icon on the top-left corner of the tool. Additionally, you can hit the “Open” button on the left side to add a file.

Step 3. Start Editing the Scanned PDF
In this step, we provide different tips for editing your scanned PDF. After you highlight scanned PDF with the tool, you can do these methods to enhance your files. Follow the steps below to learn more about these tips.
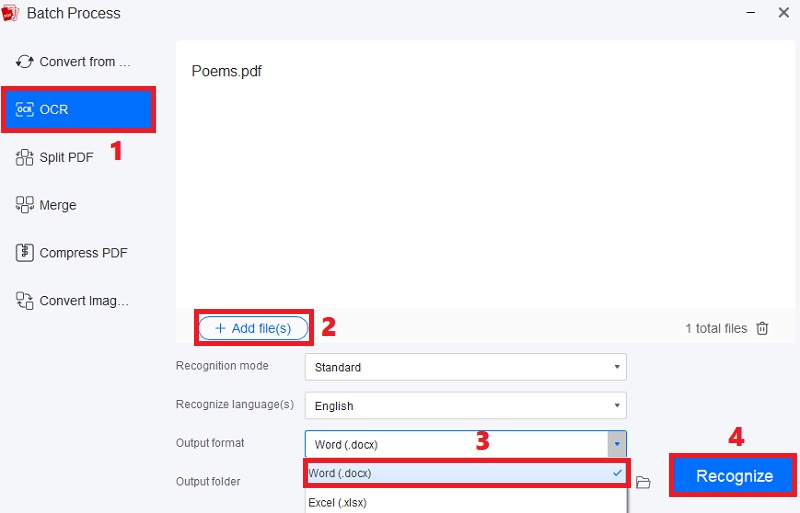
Converting Scanned PDFs to Editable PDFs: Click the “Tools” button from the upper main menu and select “Batch Process.” Then, pick the “OCR” feature from the options and add the scanned PDF. You can also hit the “+Add file” button to import additional files. Once done, select the “Output format” for the process. We suggest using Word to make the file editable on any device. Finally, hit the “Recognize” button to begin the process.
Adding and Removing Pages: Head to the “Page” menu of the tool, and different options will appear. You can hit the “Insert” button on a new page or the “Delete” button to eliminate unwanted pages. Also, you can rotate, replace, extract, split, or merge pages. Moreover, you can undo and redo the process in the upper left section of the PDF highlighter software and editor if you have mistakes.

Merging PDFs: Go to the “Tools” panel and hit “Batch Process” from the selection. After that, click the “Merge” button and add the files you want to merge by hitting the “+Add file” button. Then, point your mouse cursor to the right corner of the file name. Next, drag the file into the preferred sequence until satisfied with the arrangement. Lastly, hit the “merge” button on the bottom to merge the PDFs.

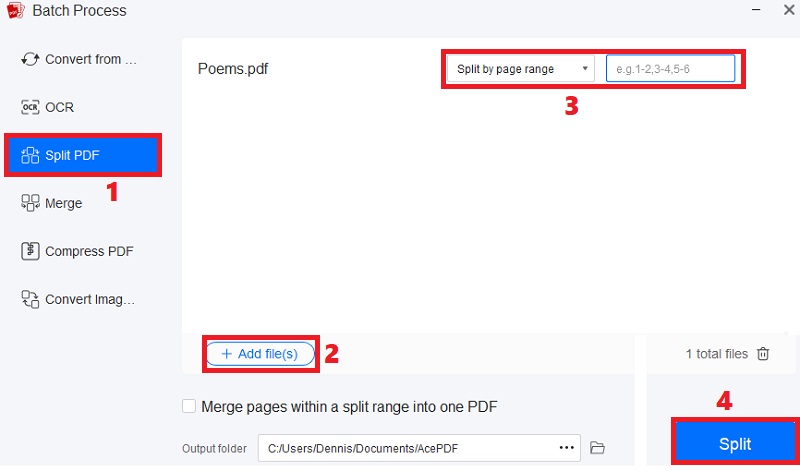
Splitting PDFs: In this feature, click the “Tools” button again and hit “Batch Process.” Afterward, hit the “Split PDF” from the menu and import the scanned PDF you want to split. Then, determine whether you want to “Split by page range” or “Each page is split into PDF files.” If you split by page range, enter the page range on the box beside the option. Once done, hit the “Split” button to start.
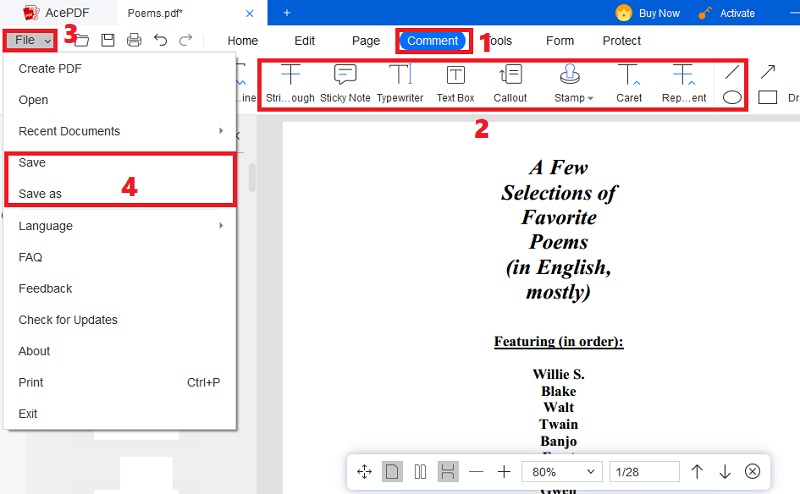
Step 4. Edit and Save the Finished PDF
Before completely saving the file, you can move to the “Edit” tab from the main menu and further enhance your document. You can insert texts, images, URLs, and other elements. Also, you can go to the “Comments” tab to add more annotations or highlight additional texts. Once everything is complete, hit the “File” button on the upper-left corner of the PDF text highlighter and editor and pick your preferred saving option to keep the PDF.